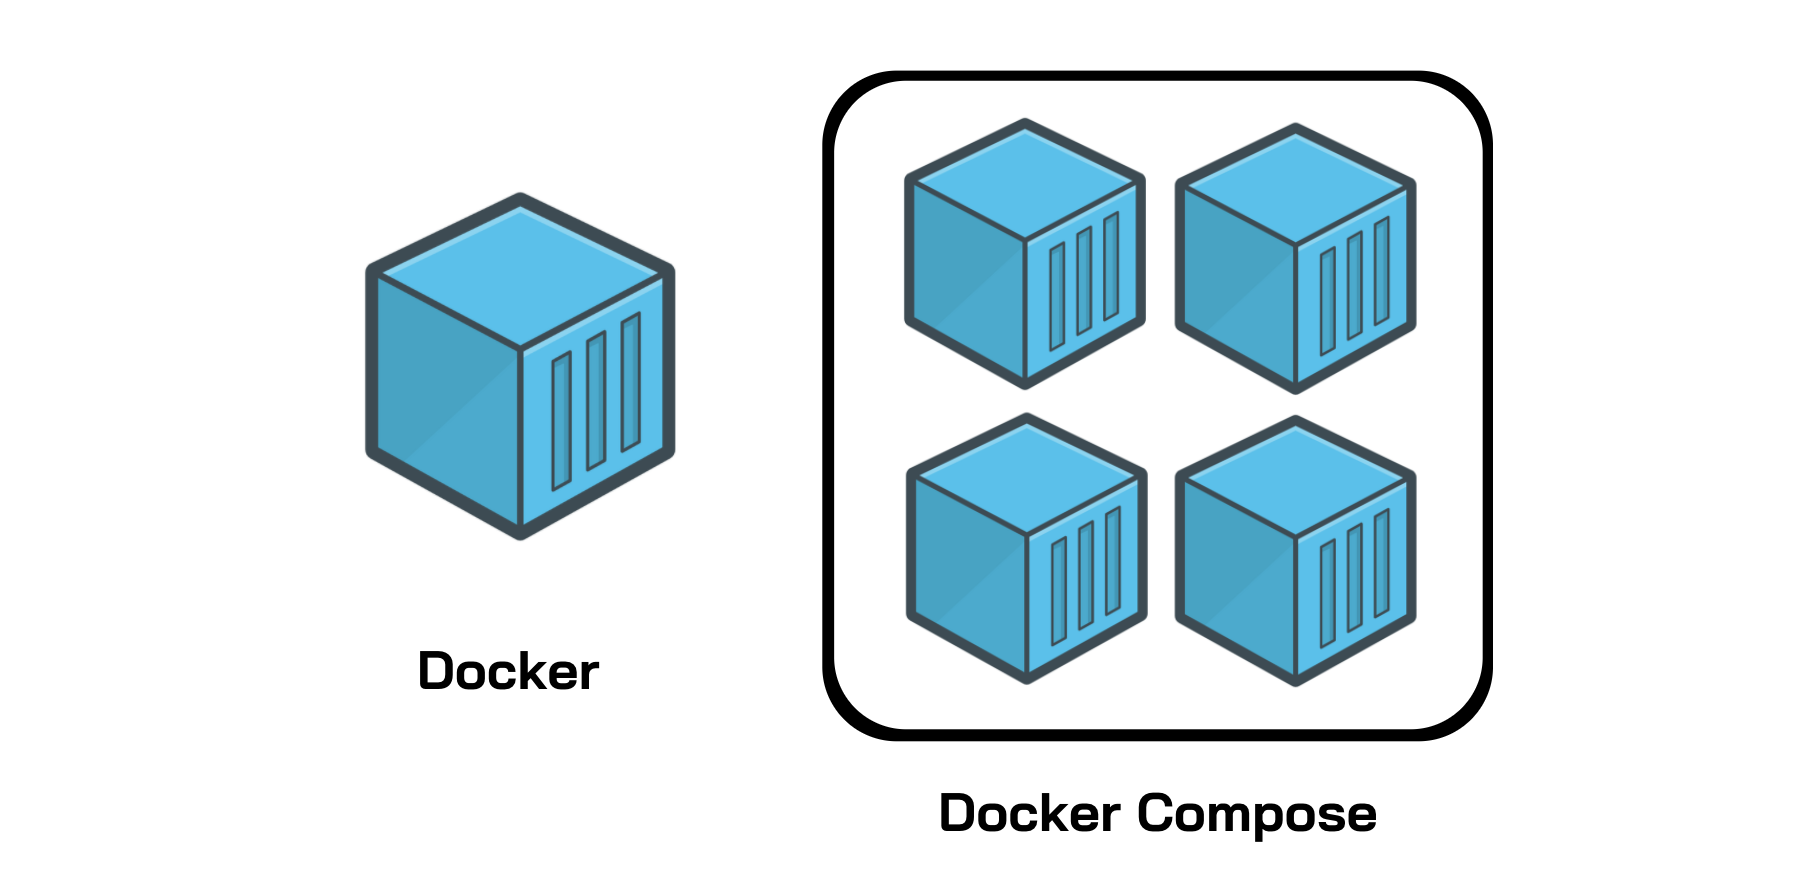
Create Microservices and Multiple containers with Docker- Compose(Deploy Wordpress with Docker-Compose)
Think of docker-compose as an automated multi-container workflow. Compose is an excellent tool for development, testing, CI workflows, and staging environments. According to the Docker documentation, the most popular features of Docker Compose are:
- Multiple isolated environments on a single host
- Preserve volume data when containers are created
- Only recreate containers that have changed
- Variables and moving a composition between environments
- Orchestrate multiple containers that work together
Docker Compose file structure
Now that we know how to download Docker Compose, we need to understand how Compose files work. It’s actually simpler than it seems. In short, Docker Compose files work by applying mutiple commands that are declared within a single docker-compose.yml configuration file. The basic structure of a Docker Compose YAML file looks like this:
Now, let’s look at real-world example of a Docker Compose file and break it down step-by-step to understand all of this better. Note that all the clauses and keywords in this example are commonly used keywords and industry standard. With just these, you can start a development workflow. There are some more advanced keywords that you can use in production, but for now, let’s just get started with the necessary clauses.
version ‘3’: This denotes that we are using version 3 of Docker Compose, and Docker will provide the appropriate features. At the time of writing this article, version 3.7 is latest version of Compose.services: This section defines all the different containers we will create. In our example, we have two services, web and database.web: This is the name of our Flask app service. Docker Compose will create containers with the name we provide.build: This specifies the location of our Dockerfile, and.represents the directory where thedocker-compose.ymlfile is located.ports: This is used to map the container’s ports to the host machine.volumes: This is just like the-voption for mounting disks in Docker. In this example, we attach our code files directory to the containers’./codedirectory. This way, we won’t have to rebuild the images if changes are made.links: This will link one service to another. For the bridge network, we must specify which container should be accessible to which container using links.image: If we don’t have a Dockerfile and want to run a service using a pre-built image, we specify the image location using theimageclause. Compose will fork a container from that image.environment: The clause allows us to set up an environment variable in the container. This is the same as the-eargument in Docker when running a container.
version: '3.3'

services:
   wordpress:
     depends_on:
       - db
     image: wordpress:latest
     volumes:
       - wordpress_files:/var/www/html
     ports:
       - "80:80"
     restart: always
     environment:
       WORDPRESS_DB_HOST: db:3306
       WORDPRESS_DB_USER: wordpress
       WORDPRESS_DB_PASSWORD: my_wordpress_db_password

   db:
     image: mysql:5.7
     volumes:
       - db_data:/var/lib/mysql
     restart: always
     environment:
       MYSQL_ROOT_PASSWORD: my_db_root_password
       MYSQL_DATABASE: wordpress
       MYSQL_USER: wordpress
       MYSQL_PASSWORD: my_wordpress_db_password
volumes:
    wordpress_files:
    db_data:


No comments:
Post a Comment